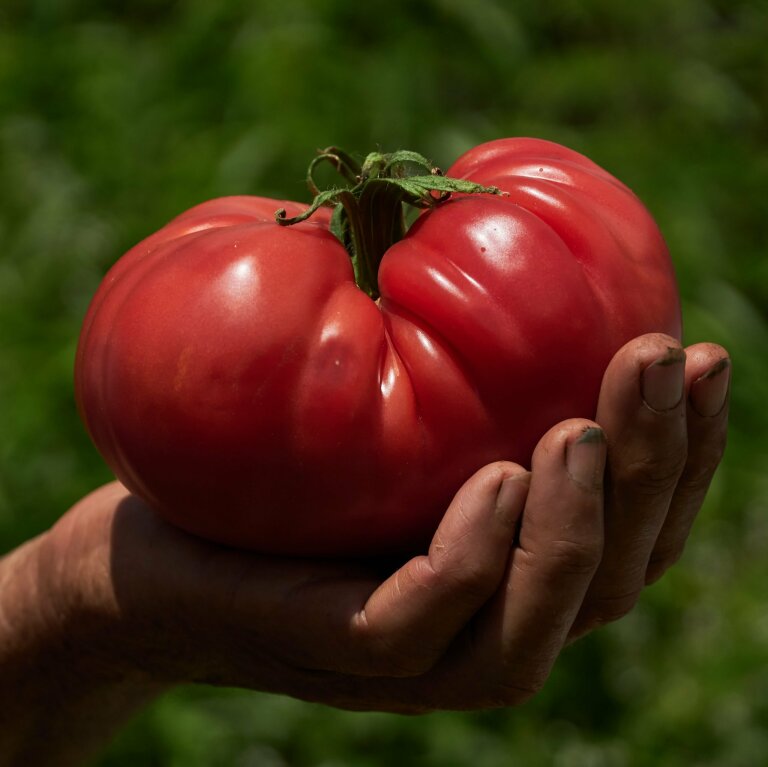
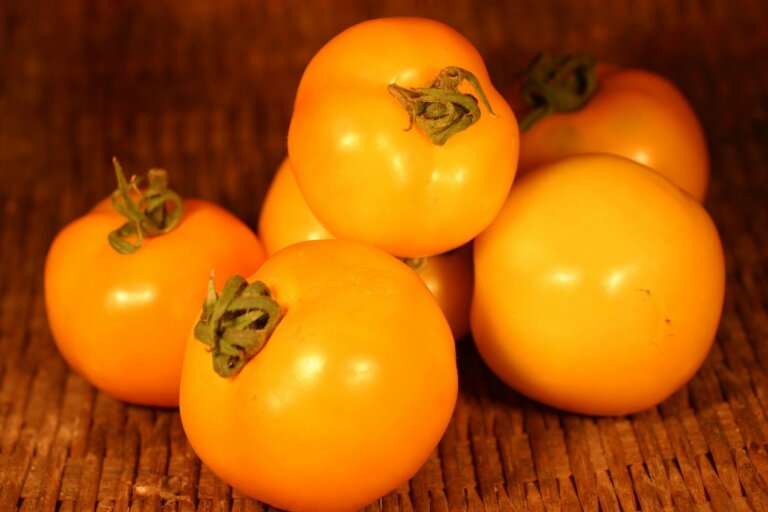
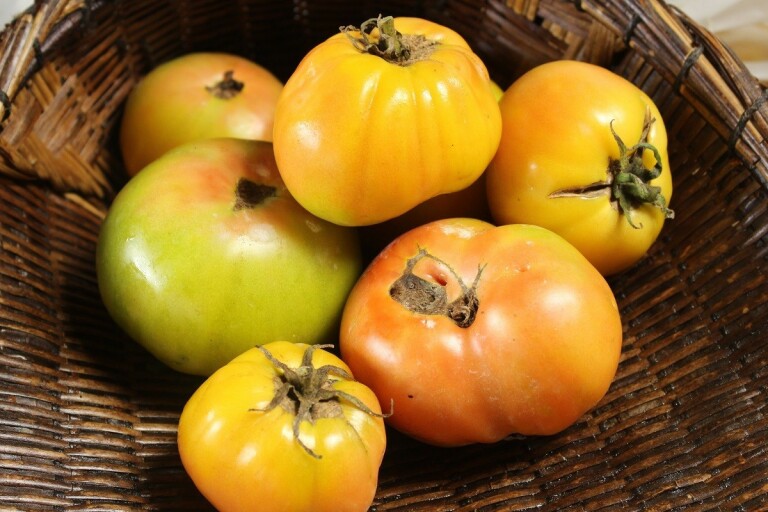
Tomato Croatian
FAMILY: SOLANACEAE
GENUS: Lycopersicon SPECIES: lycopersicum
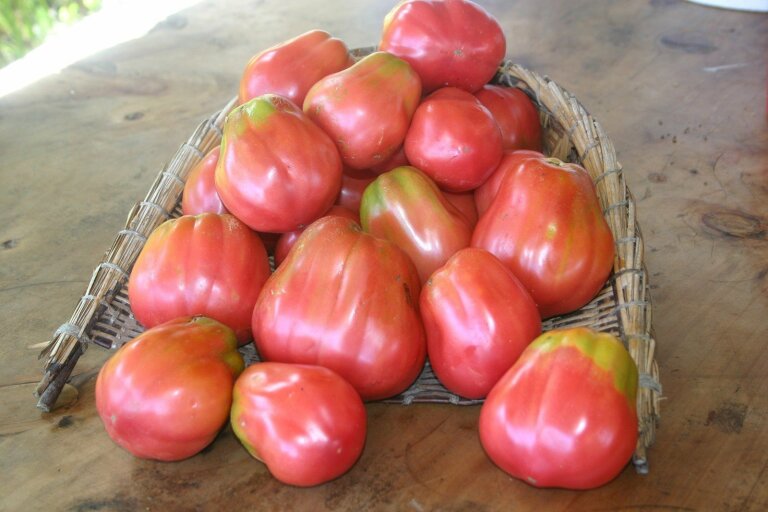
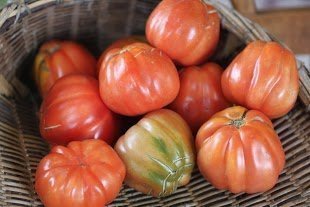
FAMILY: SOLANACEAE
GENUS: Lycopersicon SPECIES: lycopersicum
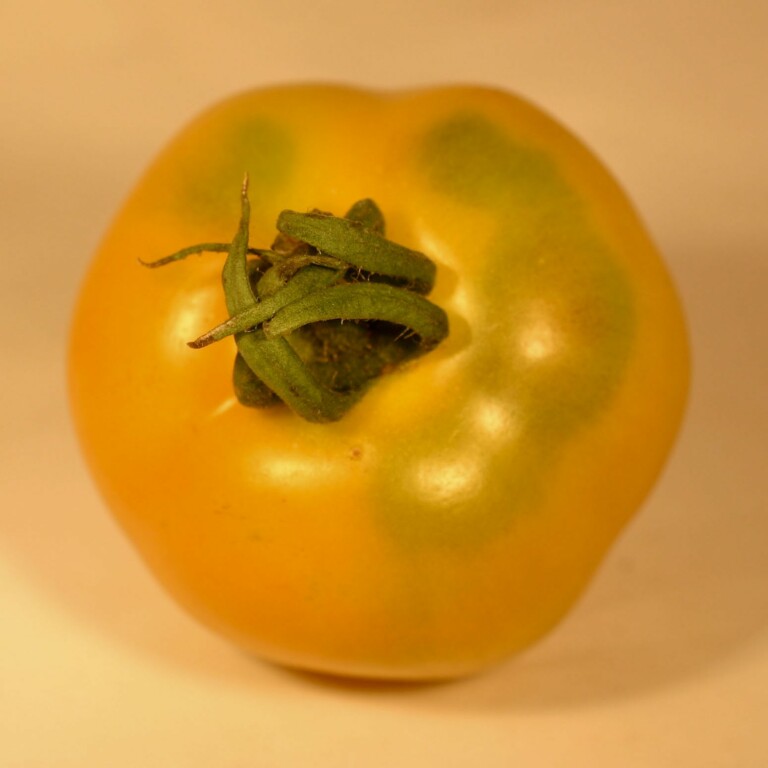
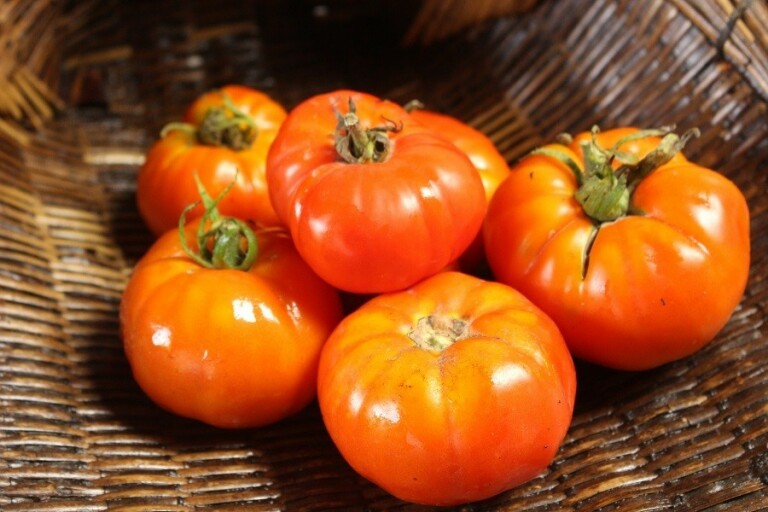
FAMILY: SOLANACEAE
GENUS: Lycopersicon SPECIES: lycopersicum
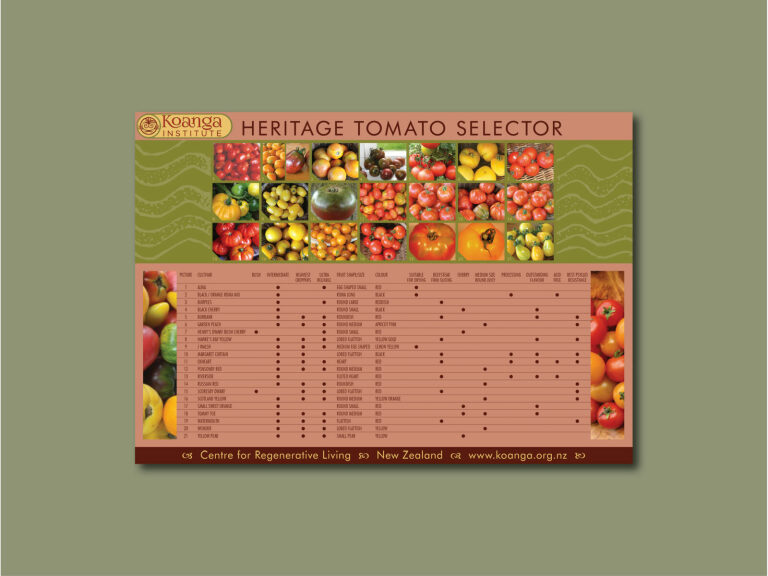
Beautiful and useful Heritage Vegetable Selector Charts designed to help you select which varieties of heritage vegetables to plant to meet your needs and conditions.
Availability: members only
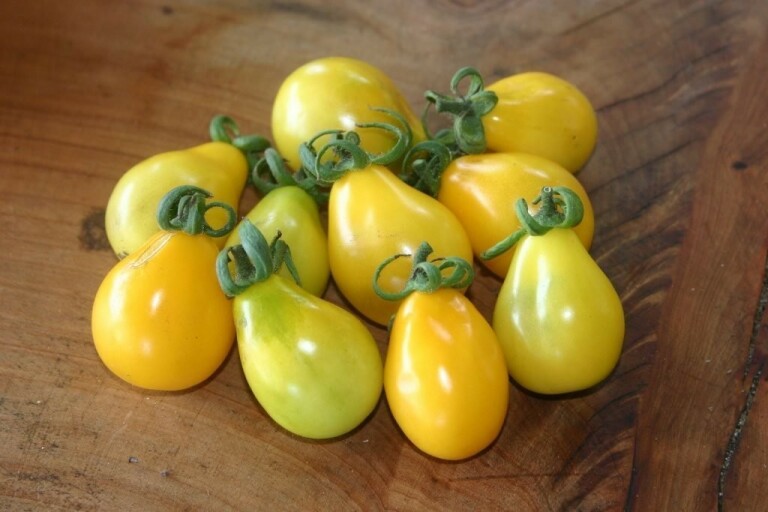
FAMILY: SOLANACEAE
GENUS: Lycopersicon SPECIES: lycopersicum
FAMILY: SOLANACEAE
GENUS: Lycopersicon SPECIES: lycopersicum
FAMILY: SOLANACEAE
GENUS: Lycopersicon SPECIES: lycopersicum

Availability: members only
FAMILY: SOLANACEAE
GENUS: Lycopersicon SPECIES: lycopersicum
FAMILY: SOLANACEAE
GENUS: Lycopersicon SPECIES: lycopersicum
FAMILY: SOLANACEAE
GENUS: Lycopersicon SPECIES: lycopersicum
FAMILY: SOLANACEAE
GENUS: Lycopersicon SPECIES: lycopersicum
End of content
End of content